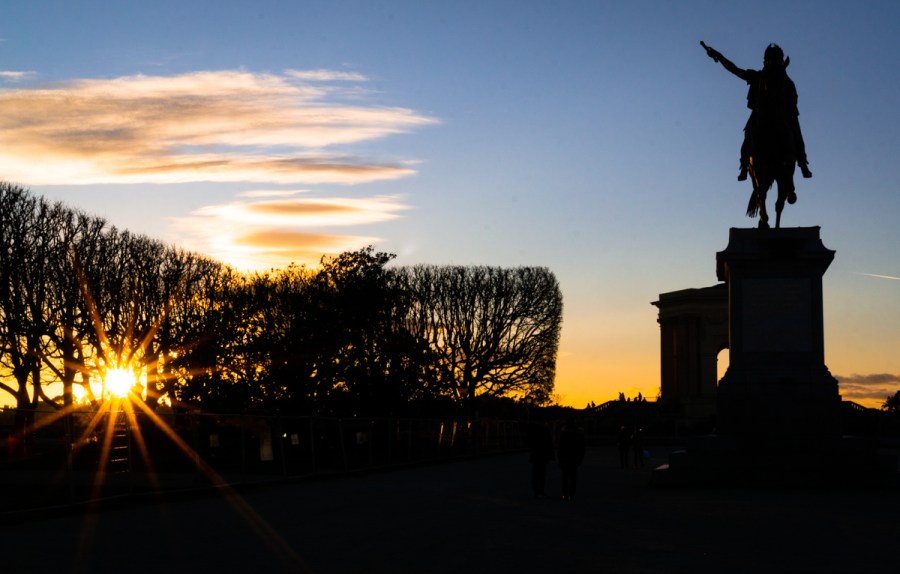
Wow, more than two thirds done with February already! Feels like it has gone much faster than January did, but time is weird a lot of the time. The last couple days I’ve been watching more tutorial videos and doing a deep spring-cleanesque organization of my hard drive. But I’ve developed a very rudimentary process for going from camera to sharing my photos:
In Camera
At this point, I am shooting only in RAW as I haven’t found much benefit in my current editing style to have JPEG as well. If I incorporate more Photoshop later, I have seen that it may be useful for comparing edited vs. original photos. But for now it just adds to the clutter.
After a shoot, I’ll take out the SD card and put it into my 2014 Macbook Pro to transfer the files. The camera can transfer via wireless as well, but for bulk transfer this works best. I have a folder for this challenge where I dump all of the photos. I played around before with using separate folders for each day, but since using Lightroom it ends up being redundant.
Adobe Lightroom
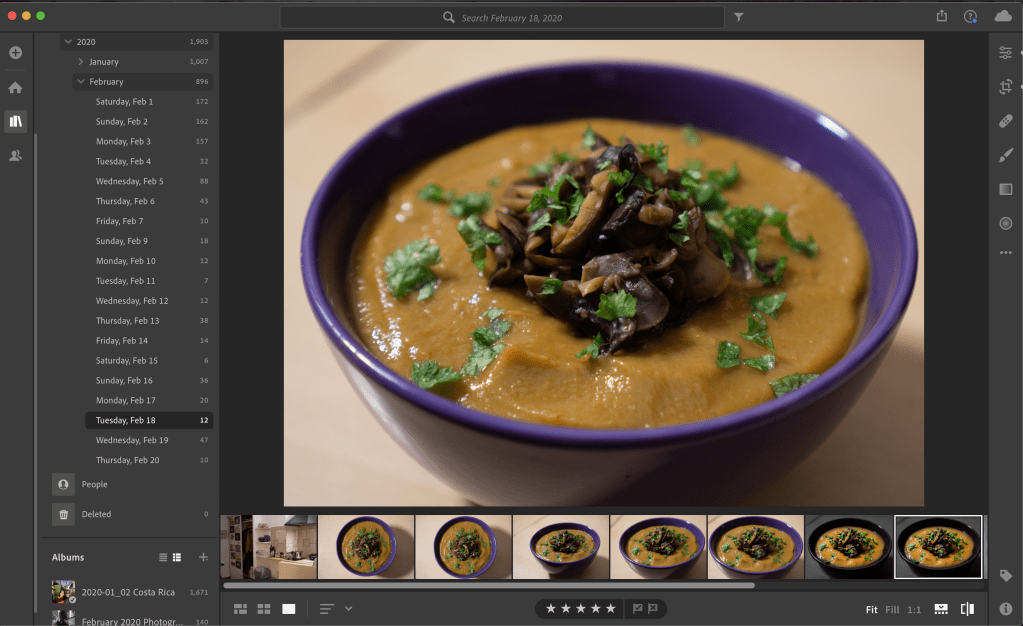
Once in Lightroom, I’ll do a quick scan of the photos. For the challenge, the ability to filter by day the photo was taken makes it easy. For shoots with more than 30 photos, I might ‘star’ them accordingly the filter out the best; however, for these single-day, everyday shoots, there normally are few enough that it is easy to figure out which one I will pick for the day.
Afterwards, I will start by going down to ‘Optics’ and clicking ‘Remove Chromatic Aberration’ and ‘Enable Lens Corrections’, which use the data from the camera of which make and model lens was used to adjust the image. In general, this just brightens up the corners. Even if I end up vignetting the corners back down, I like to do this in the beginning just to set the stage.
Then I’ll go down the Edit tab from the top and flail the sliders around until I find a spot that I like best. I’ll start with exposure, contrast, etc. in ‘Light’. Afterwards, I’ll move through to color temperature and general vibrance and saturation. If the image needs some extra pop, I’ll increase the clarity, maybe add a vignette, and increase noise reduction if there is underexposure in a night shot. Finally, I’ll go back to the ‘Tone Curve’ and play around with the highs and lows until I have it the way I want.
Once I’m done with the main edits, I’ll add a crop if the photo needs it. From my research, 5×4 vertical seems to give you the most Instagram real estate, so for vertical pictures I’ll do that if it works for the composition. But if it is a nice landscape with interesting elements on both sides, I’m not committed to that aspect ratio.
Lastly, I’ll export as a JPEG. WordPress likes cover images that are 1200 pixels across, so I set the base to that (converting for the ‘Long Edge’ if it is a portrait). Then I’ll use AirDrop to send it to my phone, although any file transfer will do.

Lastly, for the moment I’ve decided (in addition to this blog) to use Instagram for my photo-sharing platform of choice. I’ll probably include something like Flickr later, but for both friends and strangers, the number of eyes looking at Instagram is hard to beat. While traditionally I’ve edited photos from my phone with the Instagram filters and settings, using my camera and Lightroom beforehand greatly simplifies the process. Still, since the image looks a little different on my phone than on my laptop, I’ll tweak the brightness, contrast, and saturation slightly as a final correction. My Instagram handle is @petervoyvodic and while I don’t plan to be ‘Instagram famous’, it doesn’t hurt to share my edited photos on a well-trafficked platform.
So that’s my current editing progression. There are still lots of things I’m working on, namely:
- Sorting and purging photos as I bring them on to my computer to avoid the growing pile of entropic photos I don’t really care about but don’t have the energy to delete
- Learning more facets of Lightroom and creating ‘presets’ to expedite the editing process
- Integrating Photoshop for advanced photo manipulation
Also, I realize that I have some spots on my camera sensors, lenses, or both. So I have some specifically recommended cleaning kits that I will attempt over the next few days and should include my findings in the next post.
If you have any experience with any of the above, as always I’d love to hear your opinions. 😀