
In the previous post, I talked about how my scooter was vandalized twice last year. Despite all vital components still working fine, the mechanic wanted 650 euros to replace the plastic front pieces, more than its value even if it hadn’t been vandalized.
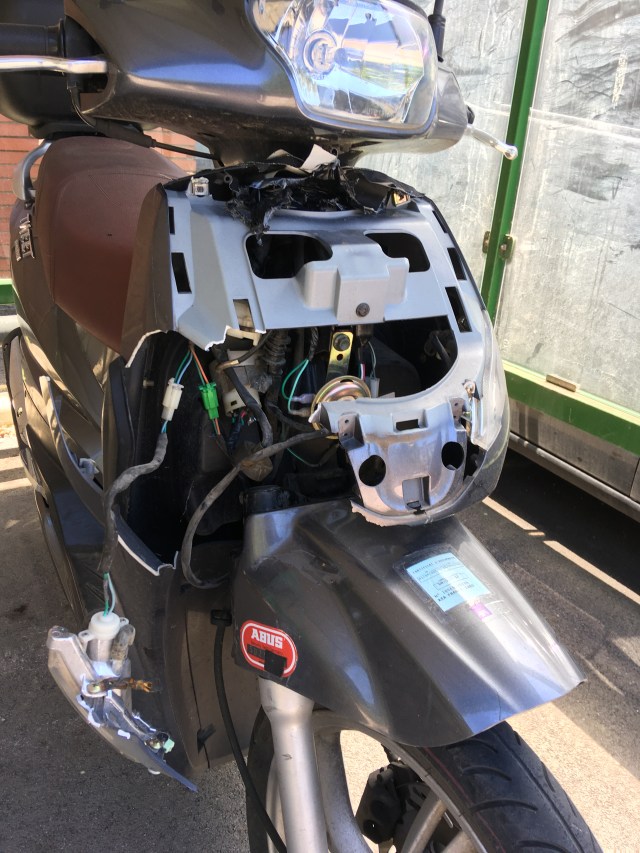
So as part of my 2020 challenges last year, I sought out to repair in myself.
What is it made of?
Since the manufacturer’s parts were either too difficult to find or way too expensive, I wanted to see how I could make some sort of replacement myself. I started by looking around for hacker spaces around the city, and in researching the manufacturer’s part, I saw they were made with acrylonitrile butadiene styrene (ABS). Scrolling down the Wikipedia page, I noticed that is the same polymer used to make Lego bricks. So as my brain reminisced about playing with the big box I had as a kid, I thought: could I use Legos to fix my scooter?
I ordered a big box of random bricks as well as a few base plates that I thought could replace the majority of the covering. This was back when I had made this my July 2020 challenge, but then procrastination set in and everything gathered dust for months.
Closing the loop
Similar to my Arduino immersion circulator and cathedral painting challenges, I set out at the beginning of this year to finish before April the challenges that I had started and abandoned last year. So a few weeks ago, I picked it back up, determined to reach a state of completion.
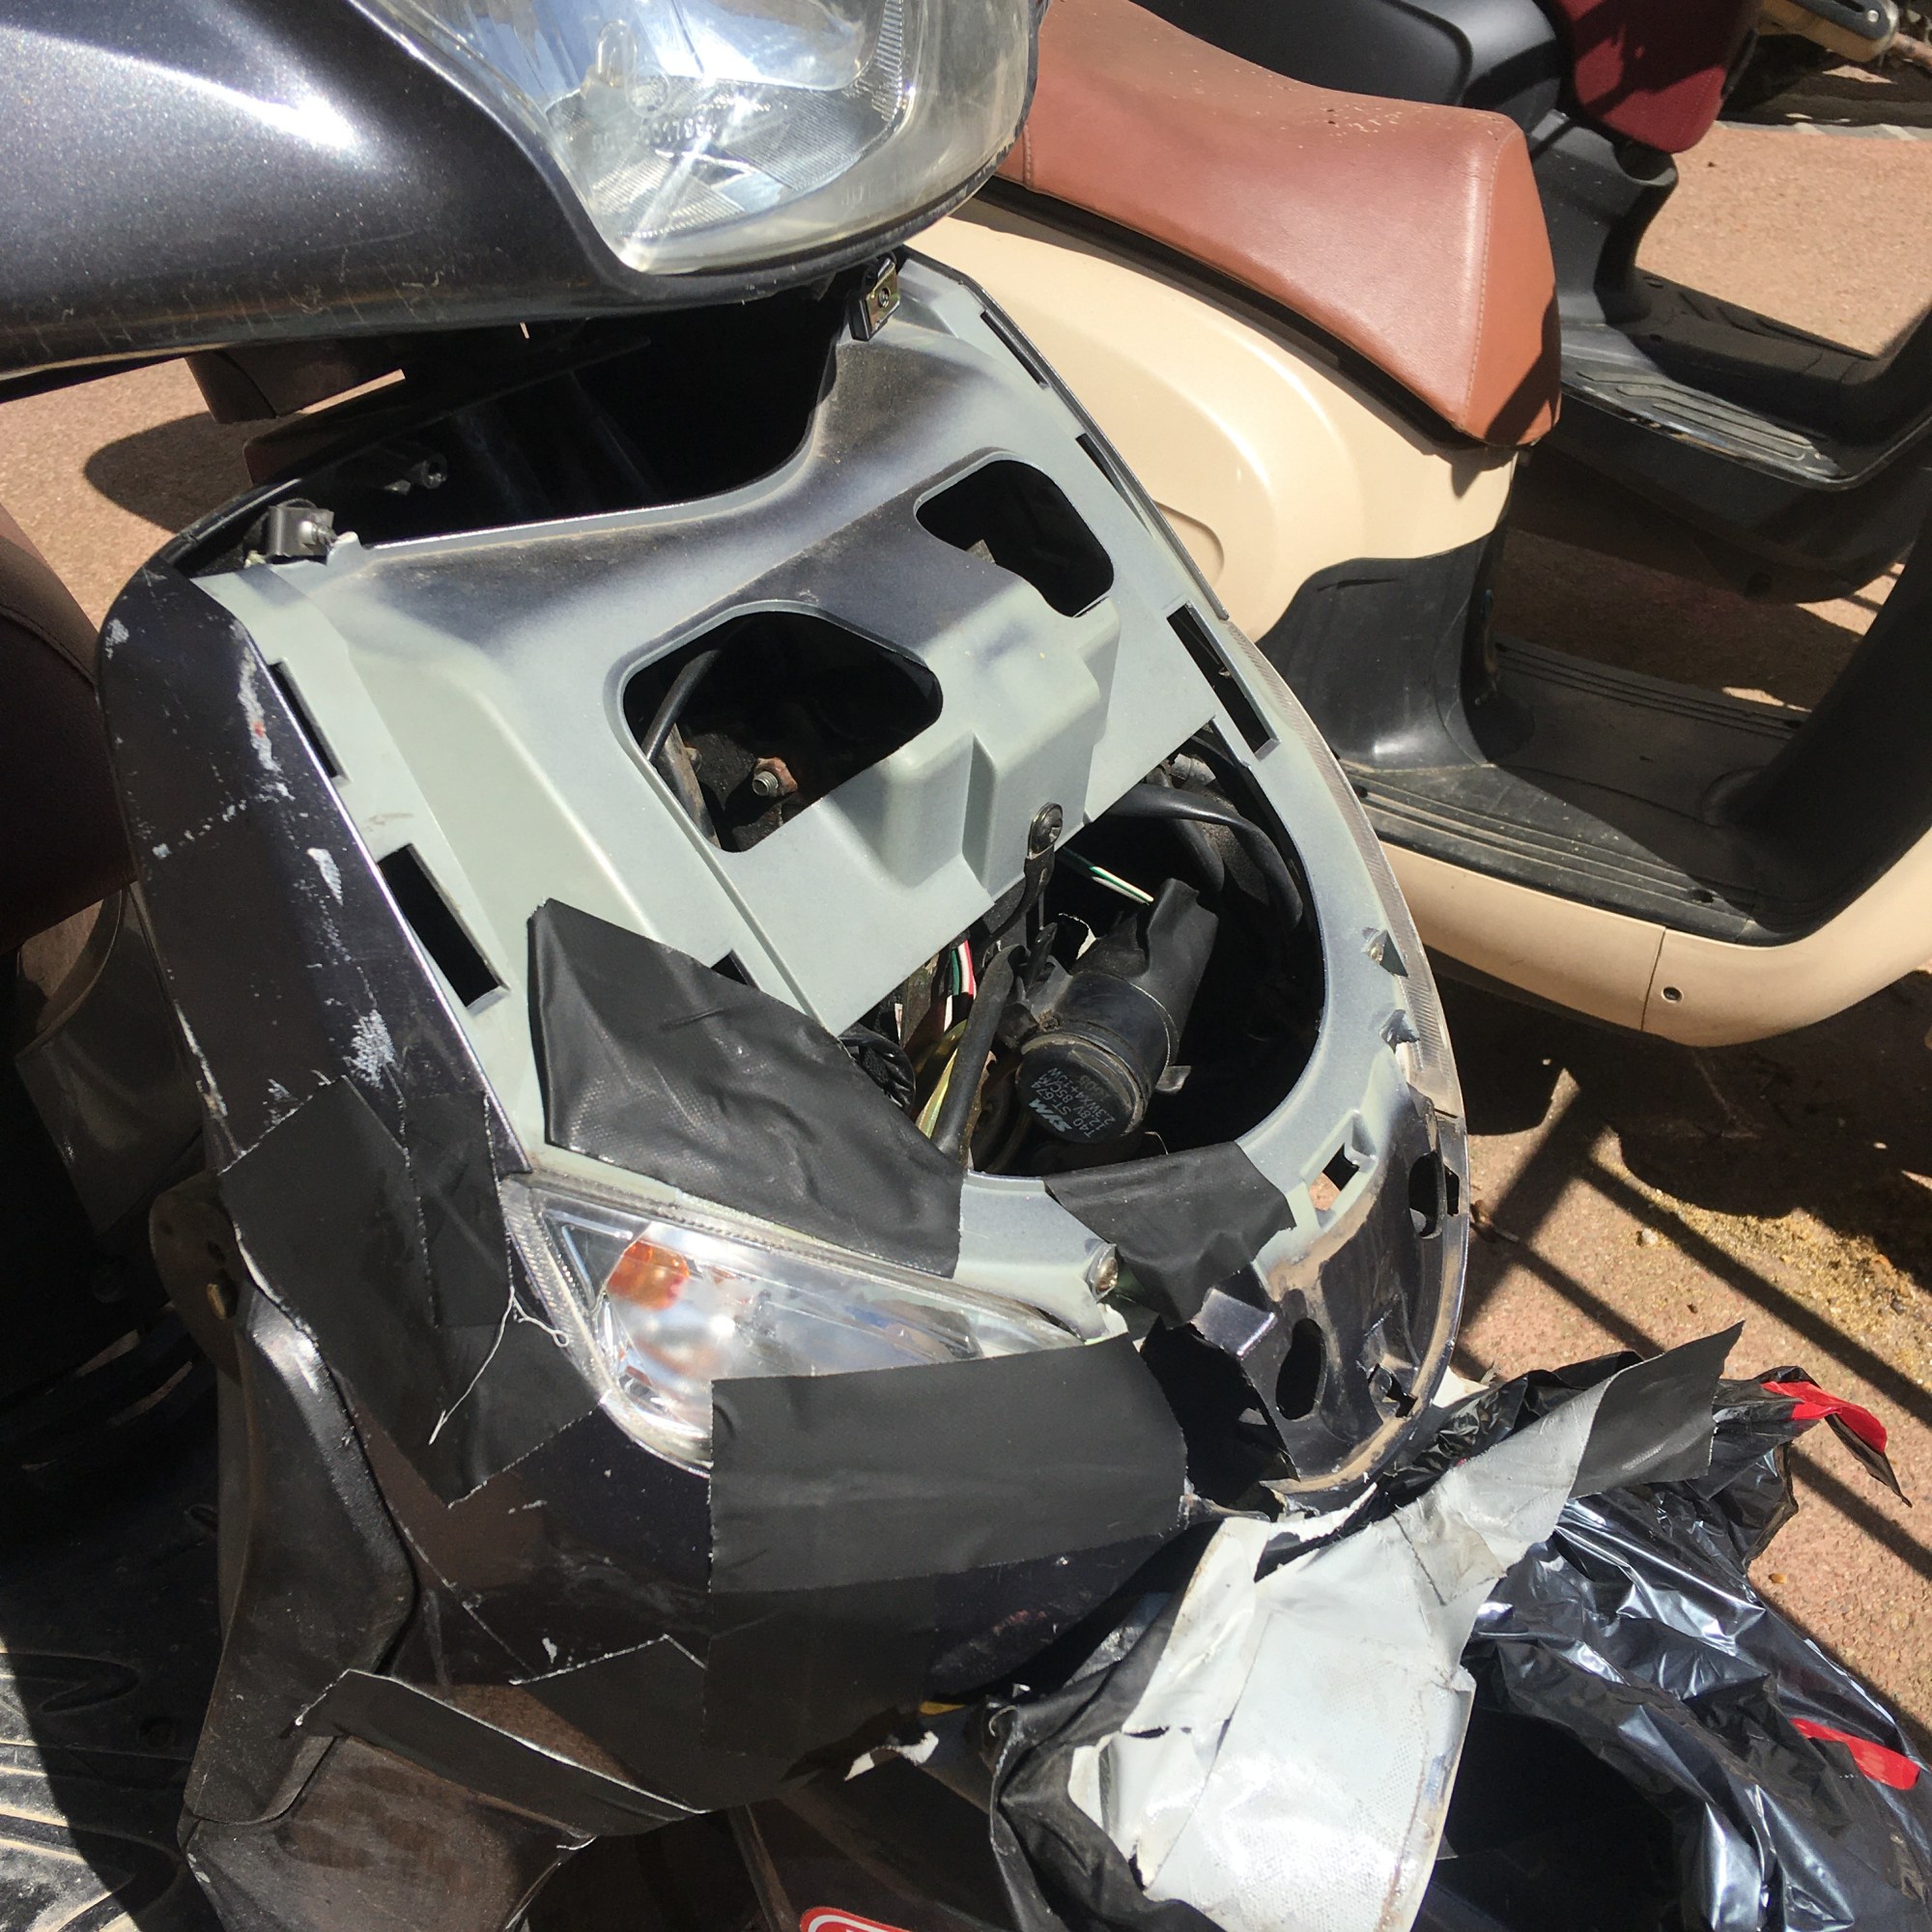
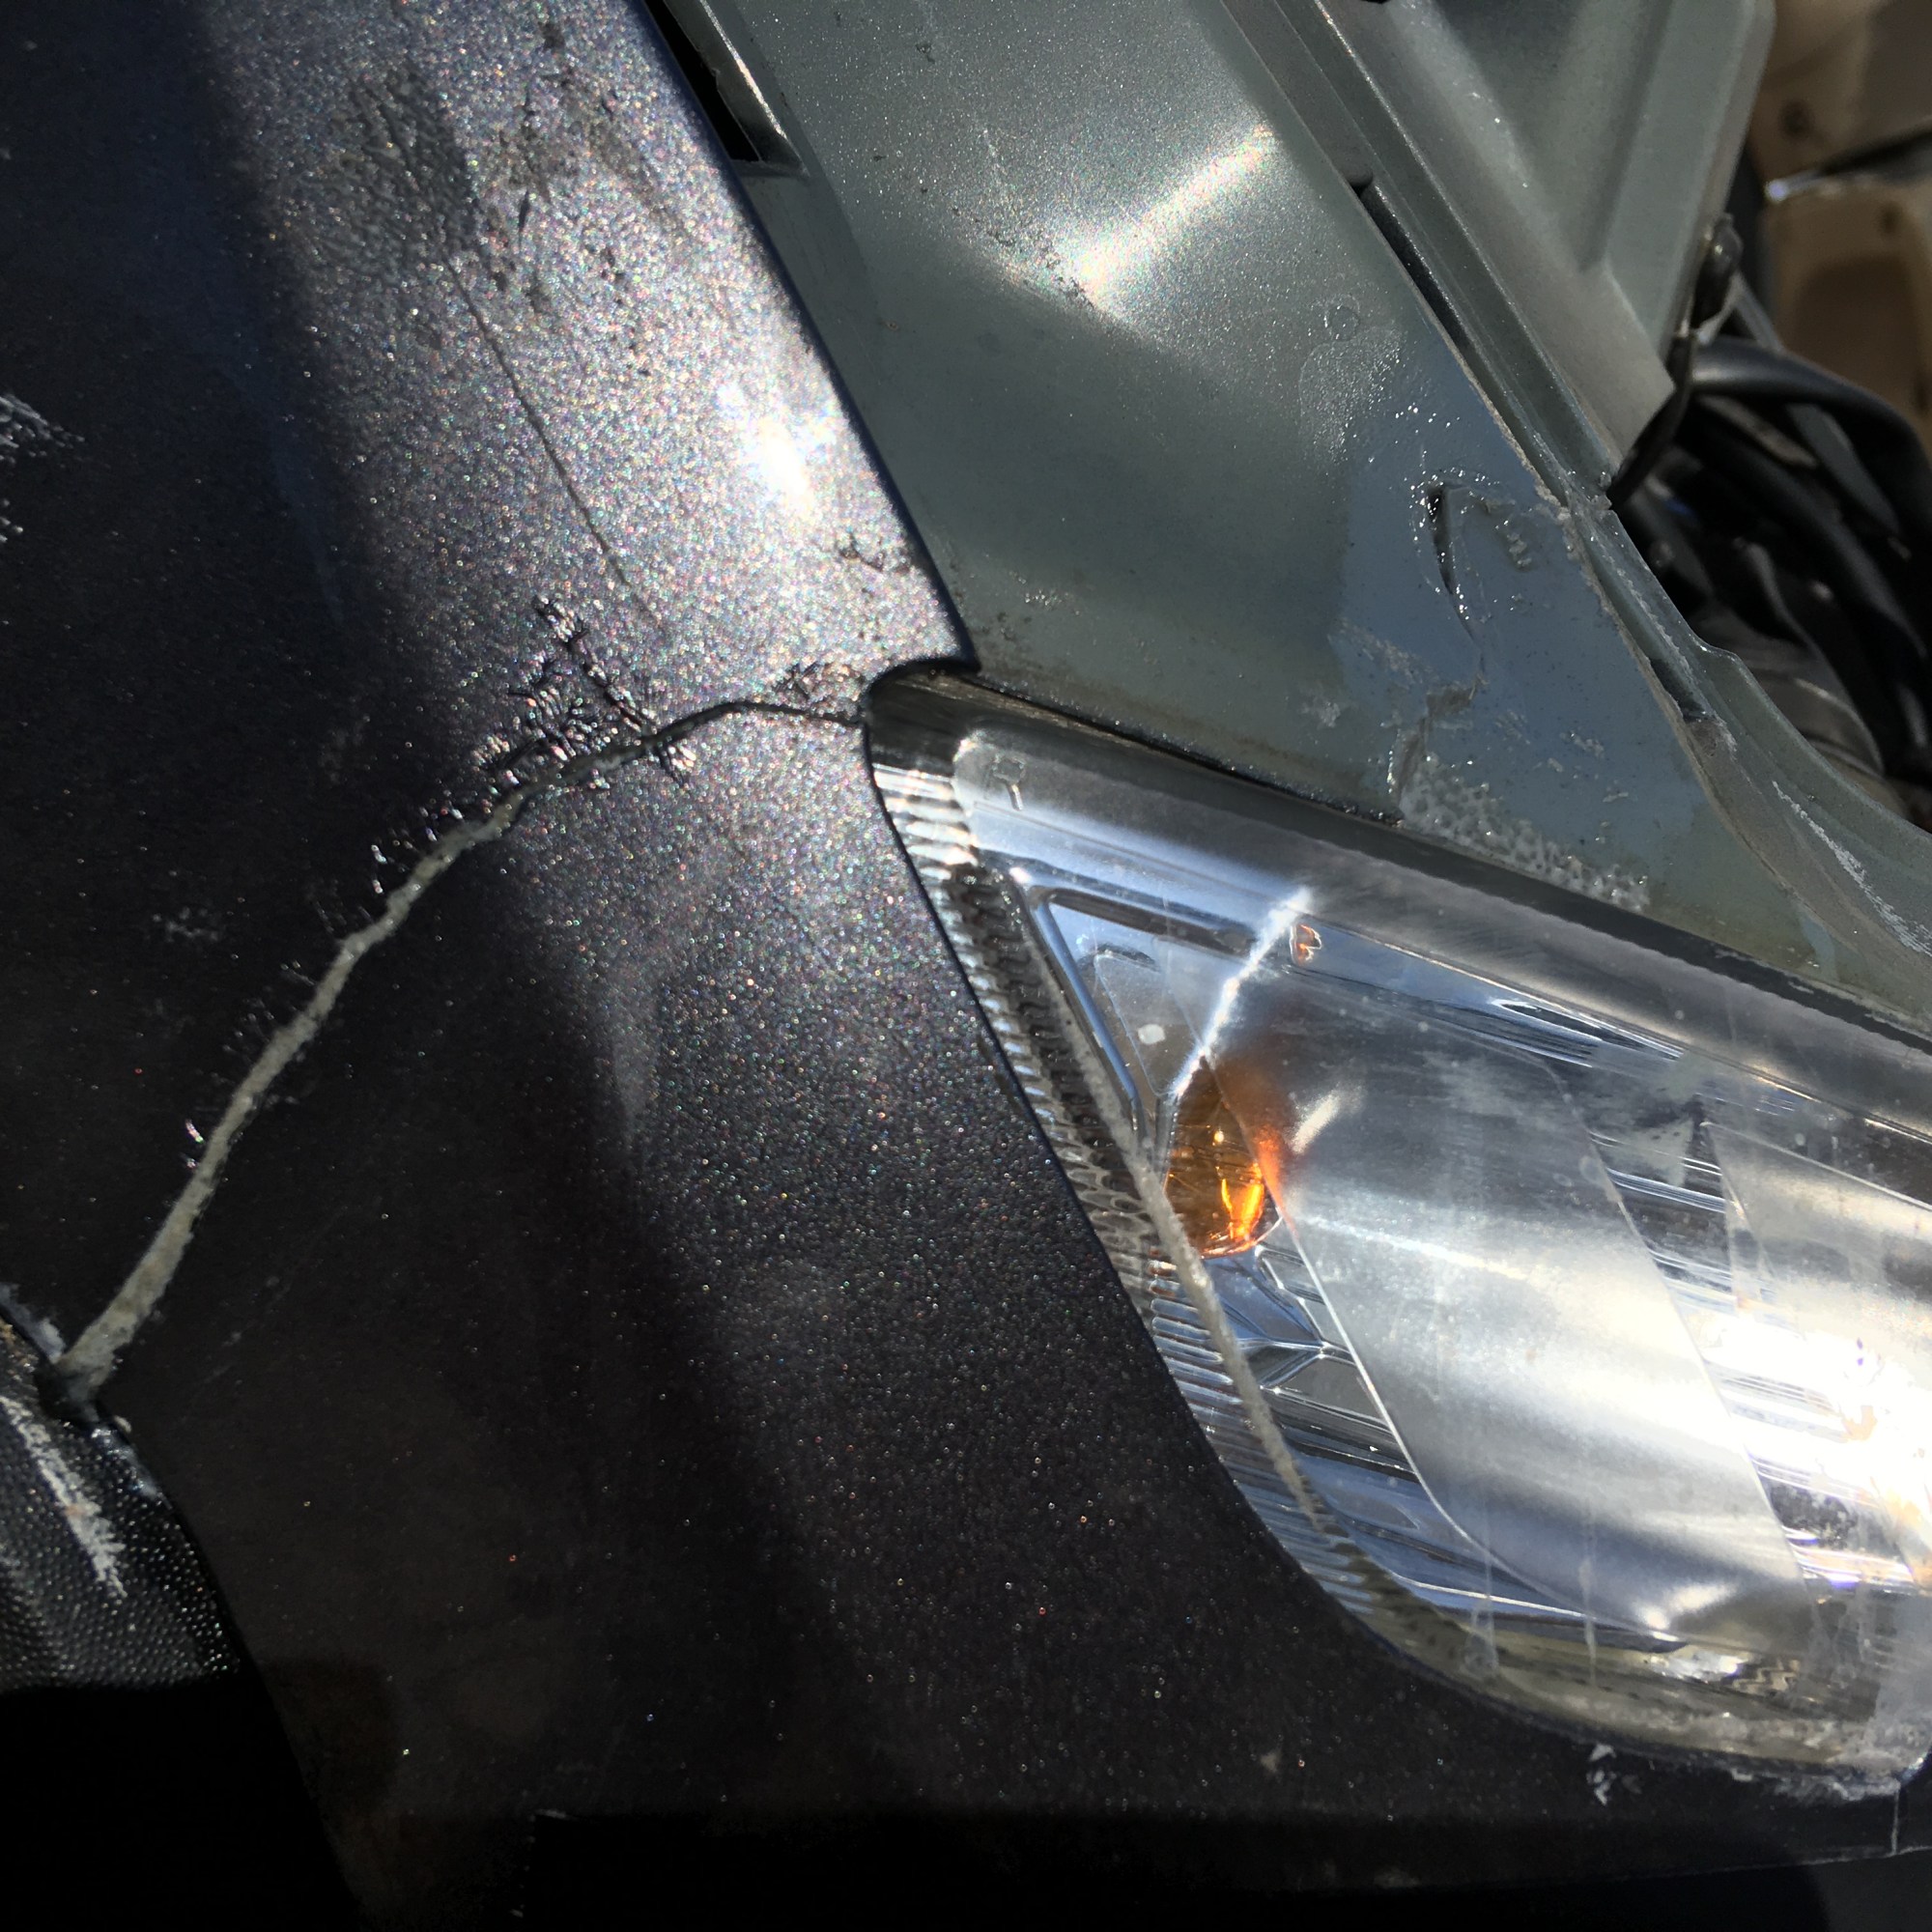
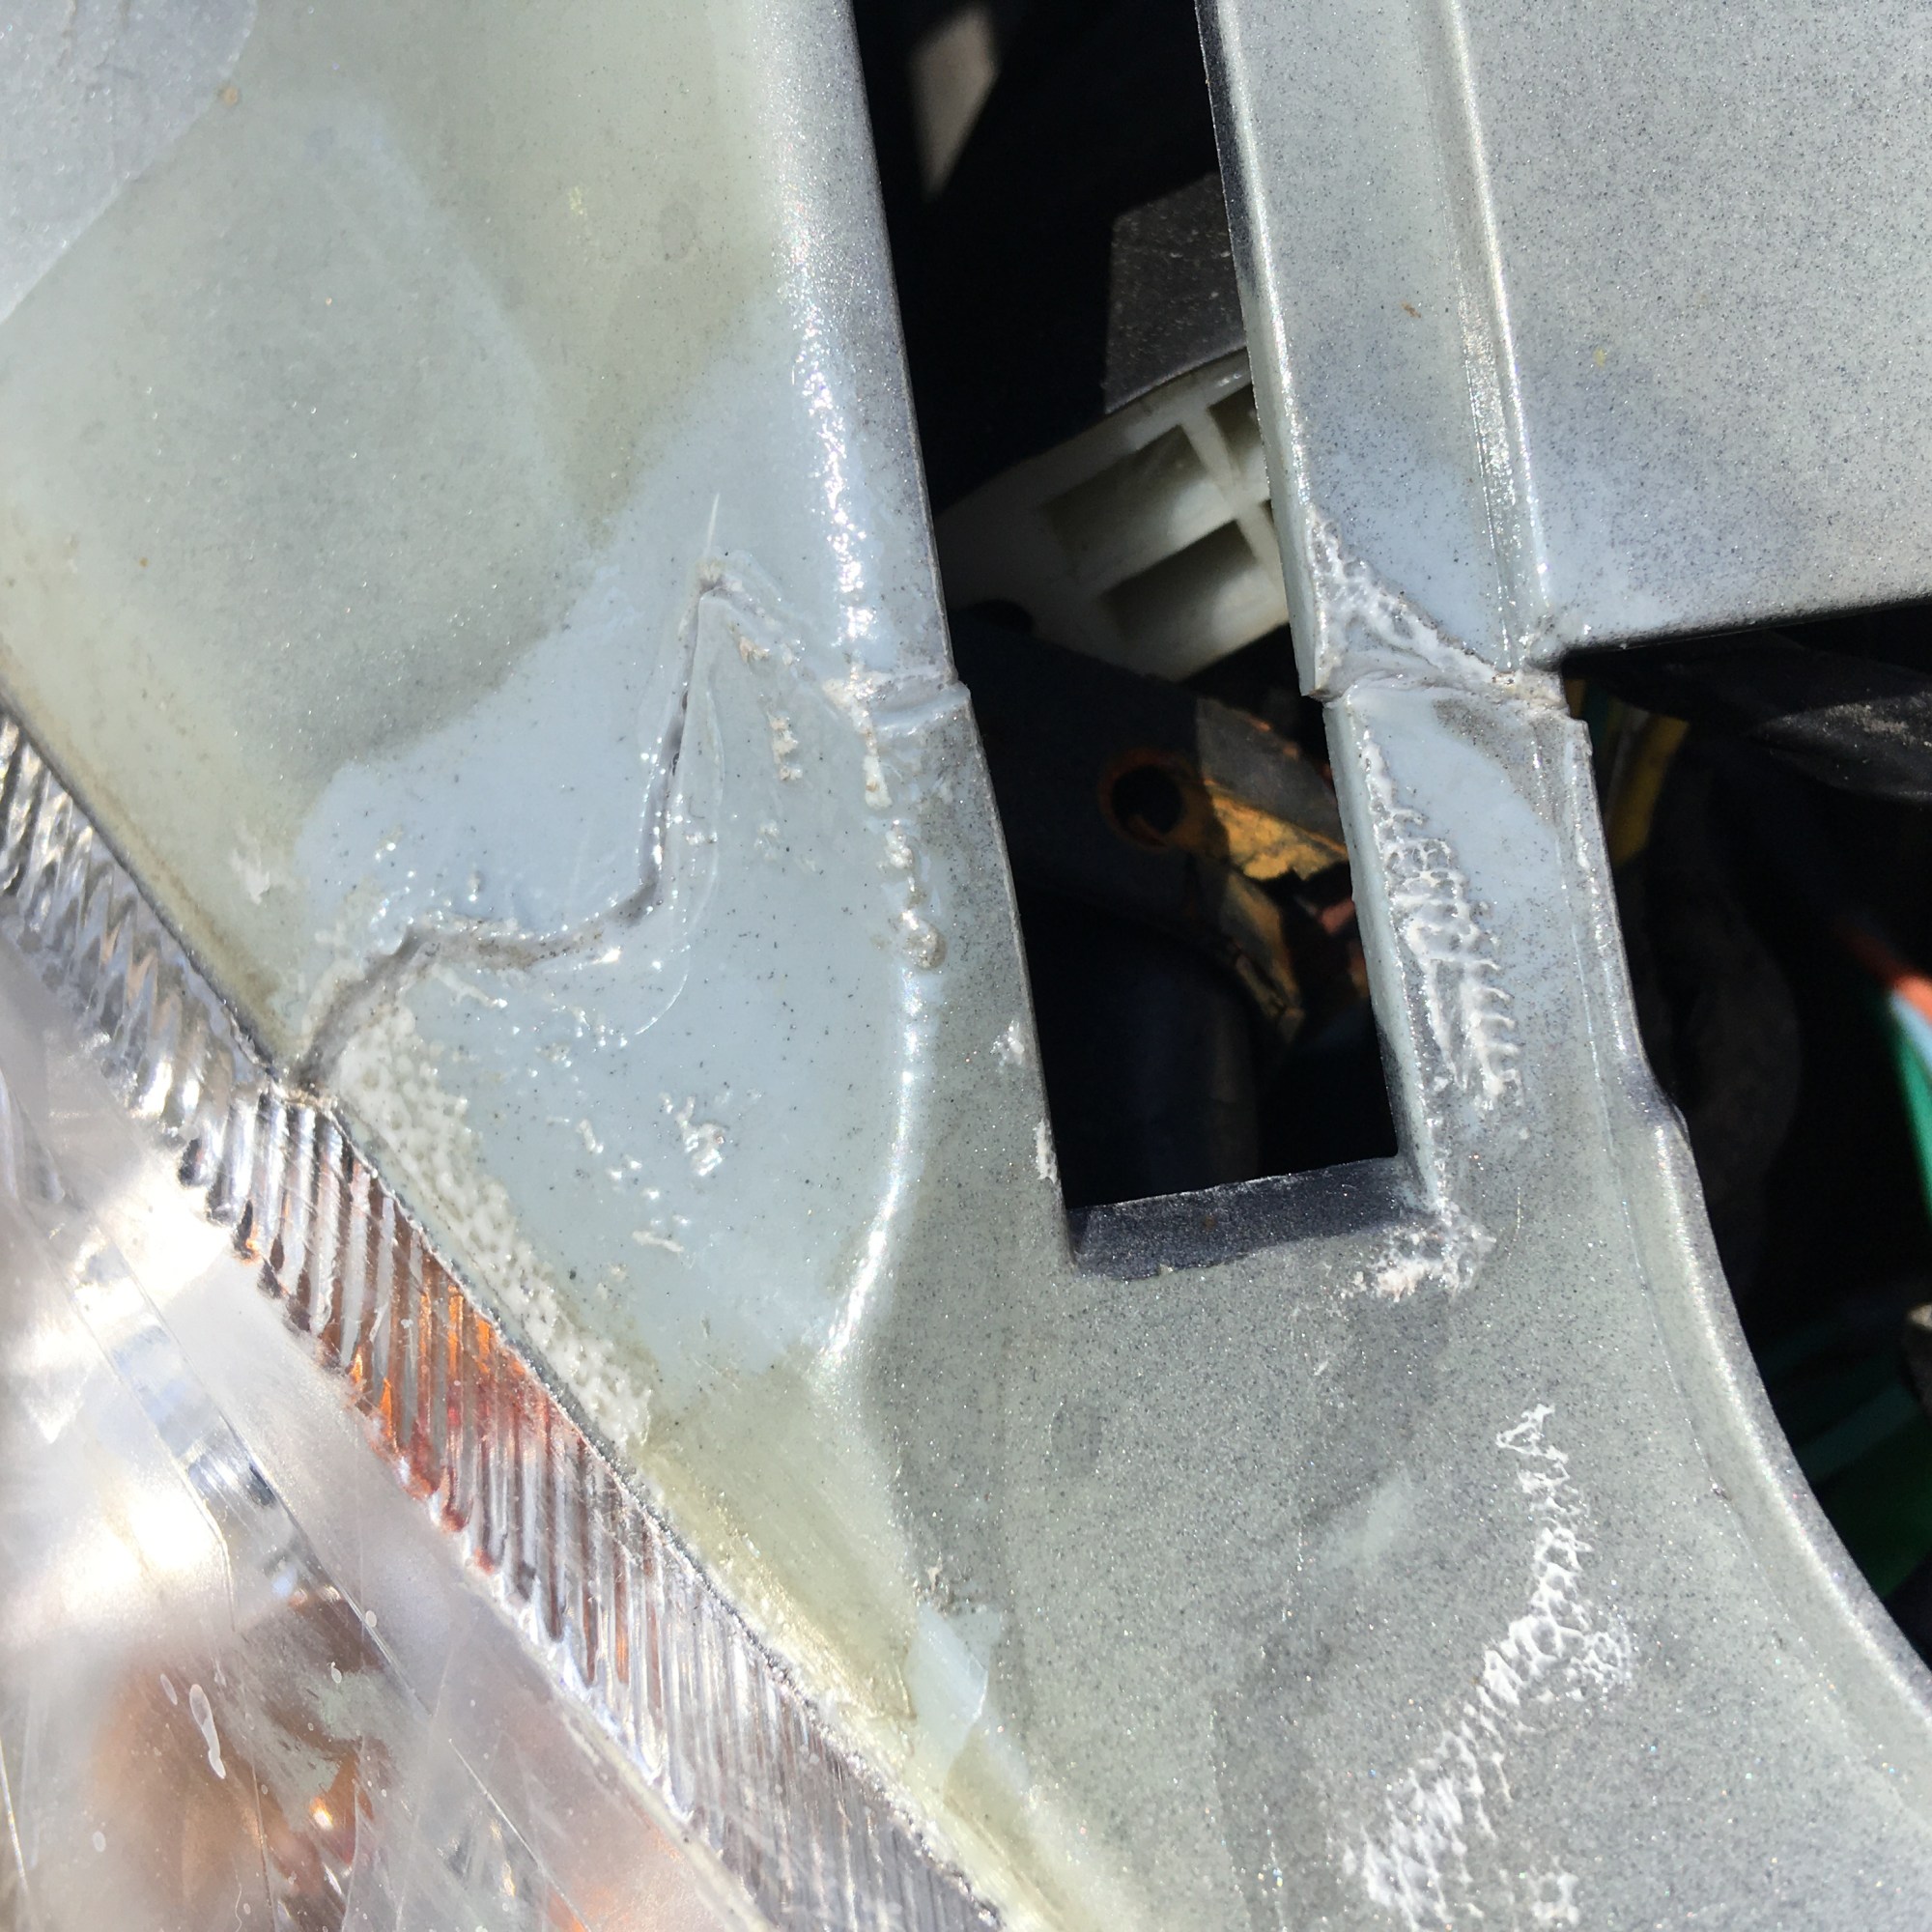
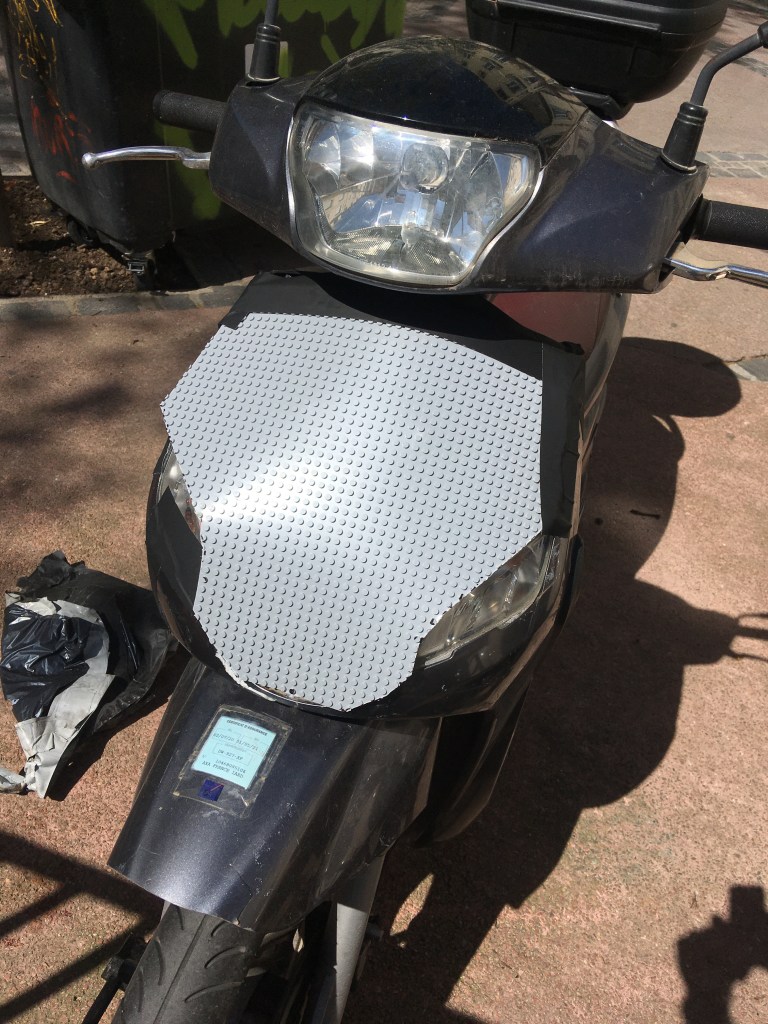
The first step was to see if I could weld back together the broken parts that I still had from the second vandalism. ABS can dissolve and be plastic welded with acetone or with certain types of modeling glue. So I removed my trash-bag-and-tape cover, dissolved the edges with acetone, and held them in place with gaffer’s tape until set.
Then, I wanted to prototype how big I needed to make the baseplate. Luckily, I had purchased two, so I cut one until I had a decent shape that I could later tweak with the other one.
Every vehicle needs a logo
As my Peugeot logo was part of the original front plate that was stolen, I decided to make my own. I drew inspiration from my new fascination with filamentous fungi and the childhood memories of interspersing sessions of Lego construction with Super Mario Brothers. So I went onto the Lego website, and ordered the Legos that I would need to make the iconic 8-bit Amanita muscaria mushroom.

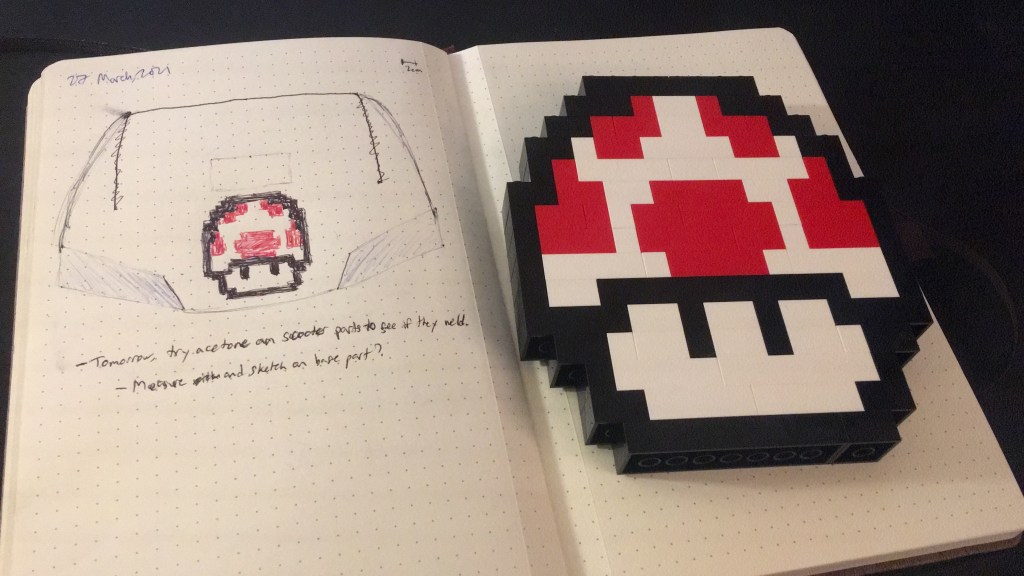
(Quick aside: I know that according to die hard fans and Lego they are ‘Lego bricks’ and not ‘Legos’, but I’ve always called them Legos and Lego misassembled my order of specific pieces, so ‘Legos’ it is for this post. 😜)
Final assembly
After spray painting the other baseplate to better match the rest of the scooter, I cut it to size and secured it to the frame with small screws. Then I just needed to attach the mushroom logo, and voilà!

But there are a couple small caveats. I’m reticent to permanently affix the mushroom for fear that it will be immediately vandalized and stolen again. (I still need to park on the street in the city center.) I tried to use high-strength magnets to attach it, but the glue didn’t work between the baseplate and the magnets. Then I tried to glue a small Lego baseplate to the backside of the mushroom, but it seems like the larger baseplate is too warped for it to connect well.
So for now I’m still figuring out a long-term solution. But I like where I am at and I consider this challenge completed. It took way longer than I wanted to finish the challenges from last year, but sometimes finishing is all that matters. Not sure what the rest of the year holds, but I have a few ideas.
Watch this space.

Looks Fantastic
Send Logo a picture
LikeLiked by 1 person
Pingback: Mushroom Lamp Update – Chortles and Harrumphs
Pingback: Five Years of Chortles and Harrumphs – Chortles and Harrumphs